When disaster strikes, having a well-prepared 72-hour emergency kit can make a world of difference. Whether you’re facing a natural disaster, a power outage, or an unexpected evacuation, having essential supplies on hand for at least 72 hours is crucial for survival. This guide will walk you through everything you need to build a thorough and practical 72-hour emergency kit for you and your family.
Why Do You Need a 72-Hour Emergency Kit?
The 72-hour window is critical because it typically takes about three days for emergency services to reach disaster-affected areas. During this period, you’ll need to rely on your own resources for survival, including food, water, first aid, and other supplies.
Who Should Have a 72-Hour Emergency Kit?
A 72-hour emergency kit is for anyone who wants to be prepared for unexpected emergencies.
Individuals and Families

Whether you live alone or with family, an emergency kit ensures that you can meet basic survival needs, such as food, water, shelter, and first aid, for at least three days.
Parents with Children

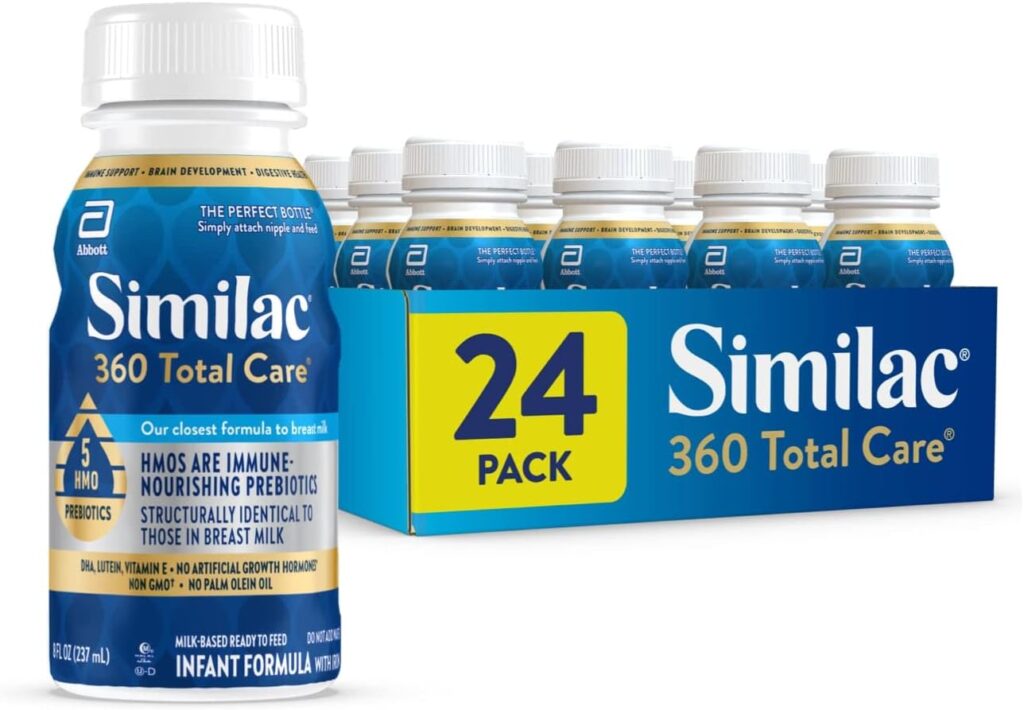
Families with young kids, elderly members, or individuals with specific medical needs will especially benefit from customized emergency kits, which should include baby formula, medications, and comfort items.
Pet Owners

Ensure you include provisions for pets, like food, water, and medicine, in your emergency kit.
People in High-Risk Areas

Those living in regions prone to natural disasters (e.g., hurricanes, earthquakes, tornadoes, wildfires) need to be prepared for power outages, evacuations, and limited services.
Outdoor Enthusiasts

Hikers, campers, and outdoor adventurers can benefit from a portable emergency kit to manage unexpected events like sudden weather changes or accidents.
Elderly and Disabled Individuals
Tailor kits for individuals with mobility or health challenges, ensuring all necessary medications and assistive devices are included.
Essentially, anyone can benefit from having a well-stocked 72-hour kit, whether it’s for natural disasters, power outages, or emergencies that might keep you cut off from help for a few days.
Step-by-Step Guide to Building Your 72-Hour Emergency Kit
Step 1: Choose the Right Container for Your 72-Hour Emergency Kit
First, you’ll need a sturdy, easy-to-carry container to hold your supplies. Depending on how much you’re packing and for how many people, you might need more than one container. Some popular options include:
Wheeled Luggage: Helpful for heavy loads and easy transport.
Backpacks: Ideal for mobility. One for each person is recommended.
Duffel Bags: Great for holding a large quantity of supplies.
Plastic Bins: Sturdy and waterproof, though less portable.
Bug Out Bag
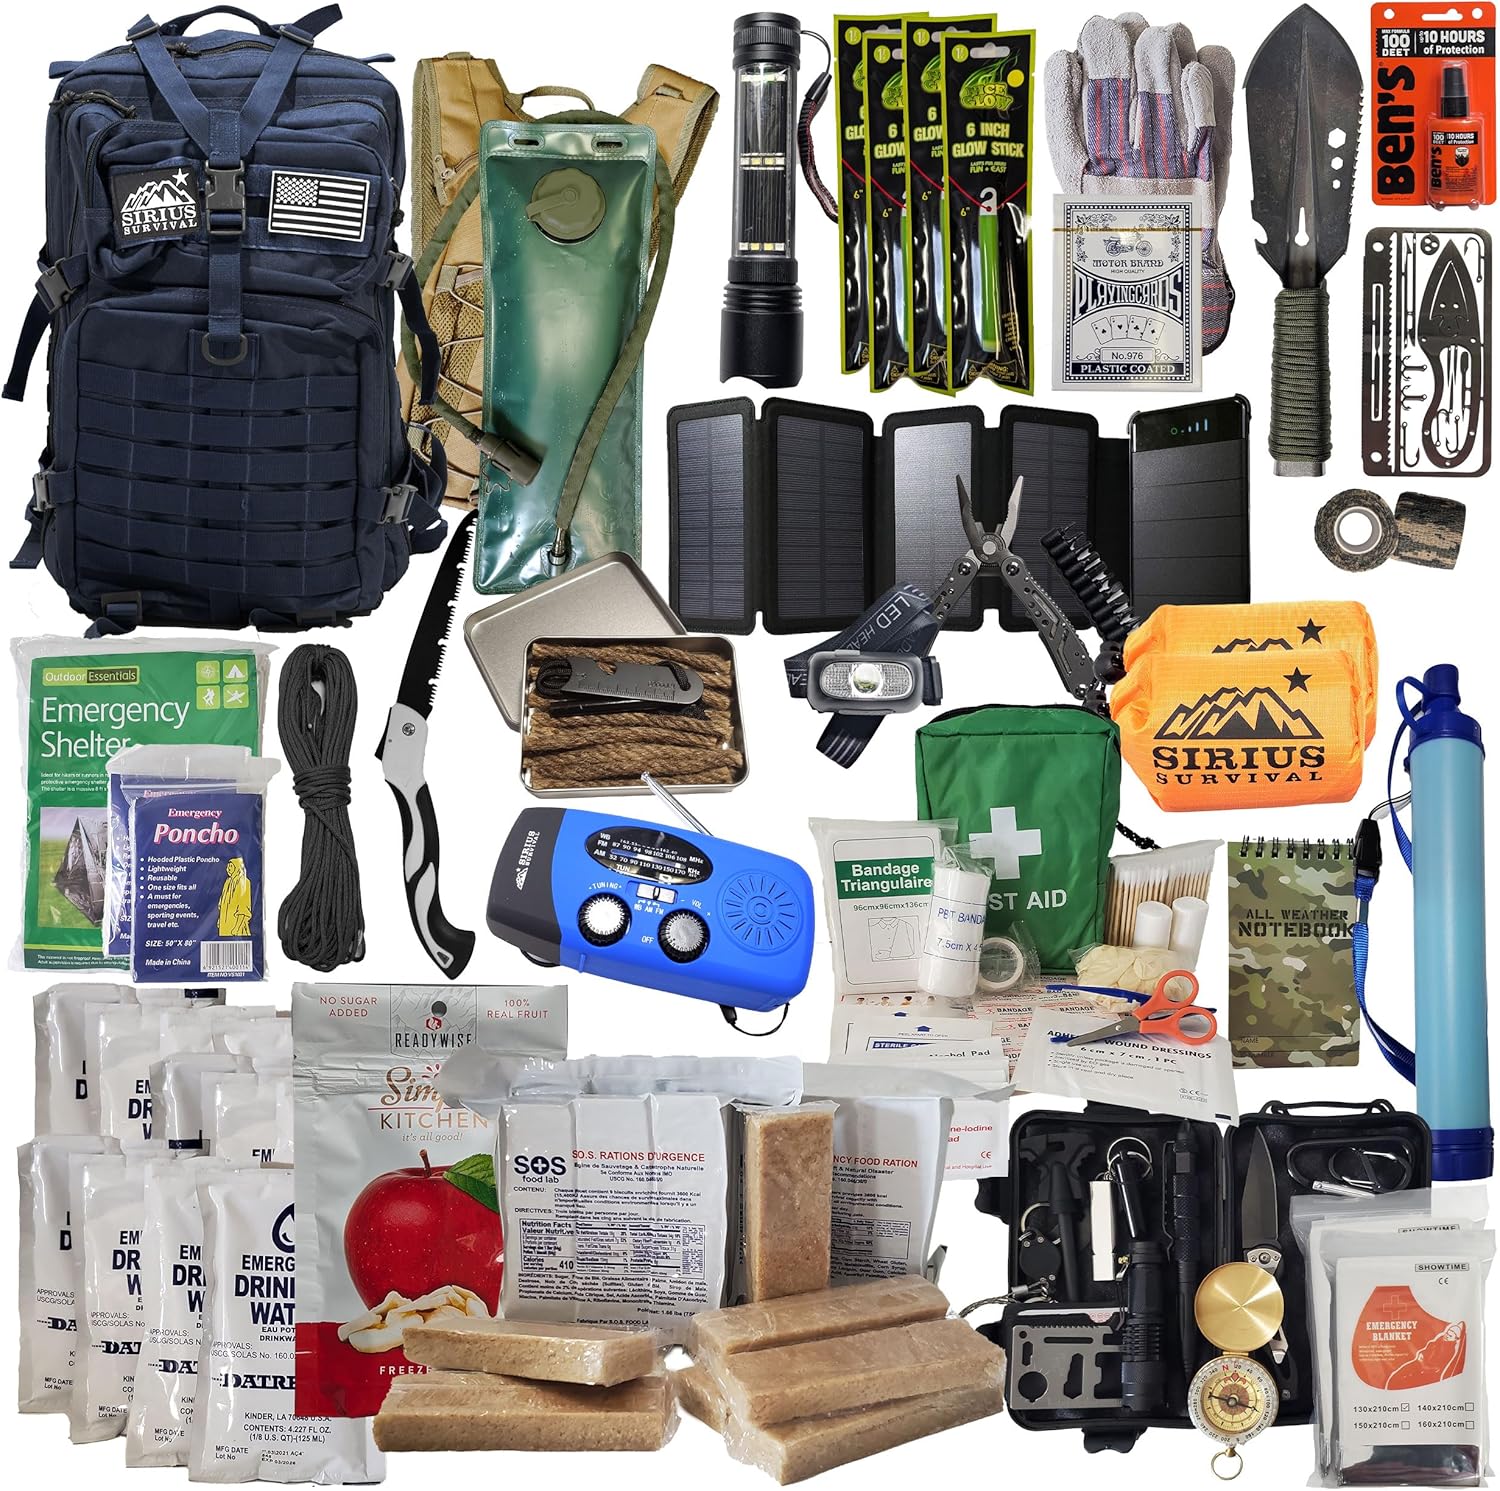
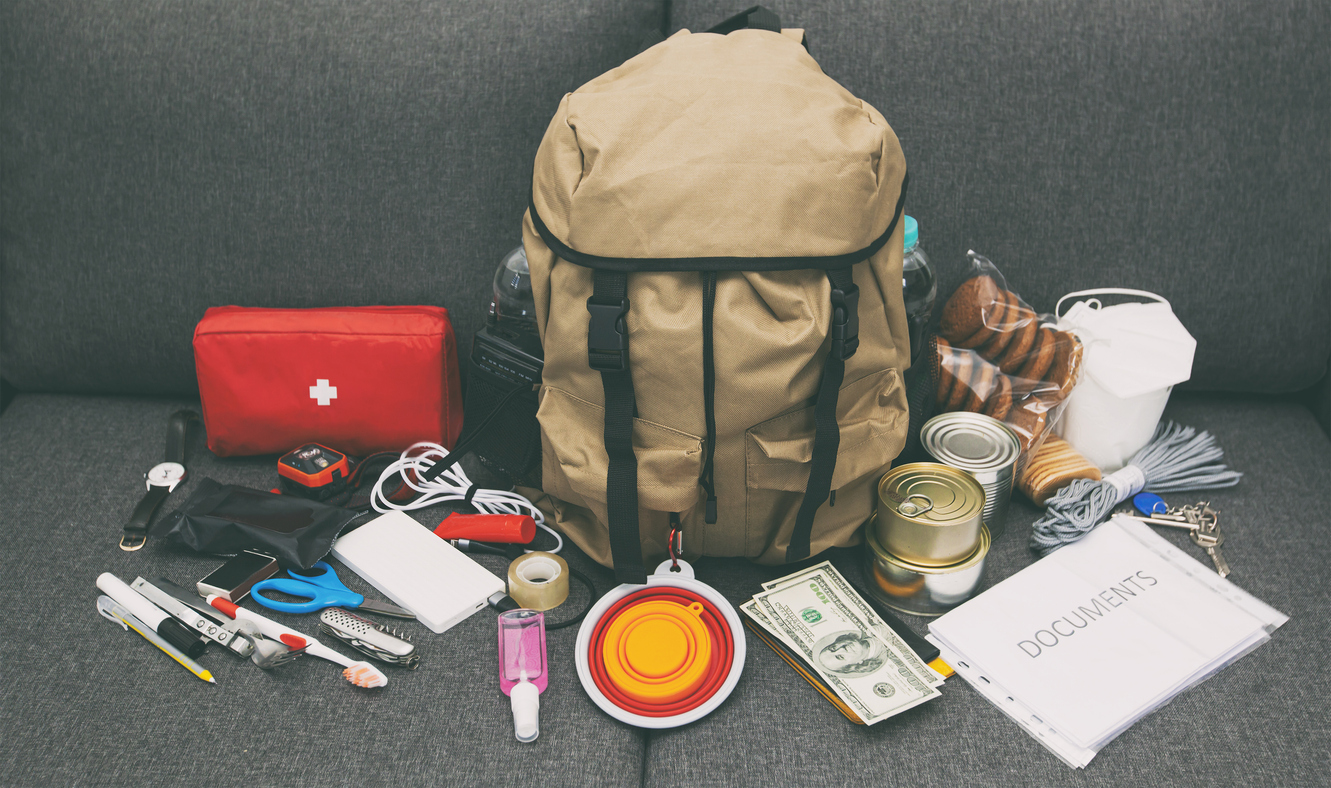
A bug-out bag is an essential tool for survival during emergencies, designed to sustain you for at least 72 hours.
It contains essential items that help ensure your safety and survival during evacuations or disasters.
Step 2: Water: The Most Essential Part of Your 72-Hour Kit
Water is your number one priority in an emergency. FEMA recommends at least one gallon of water per person per day. For a 72-hour kit, that means three gallons per person. Consider:
Water Filtration System: Consider a portable water filter or purification tablets in case you run out of bottled water or need to source water from nature.
Bottle Water: Bottled water is convenient but bulky.
Water Storage Containers: Lightweight, collapsible water containers can hold larger quantities.
Water Filtration System
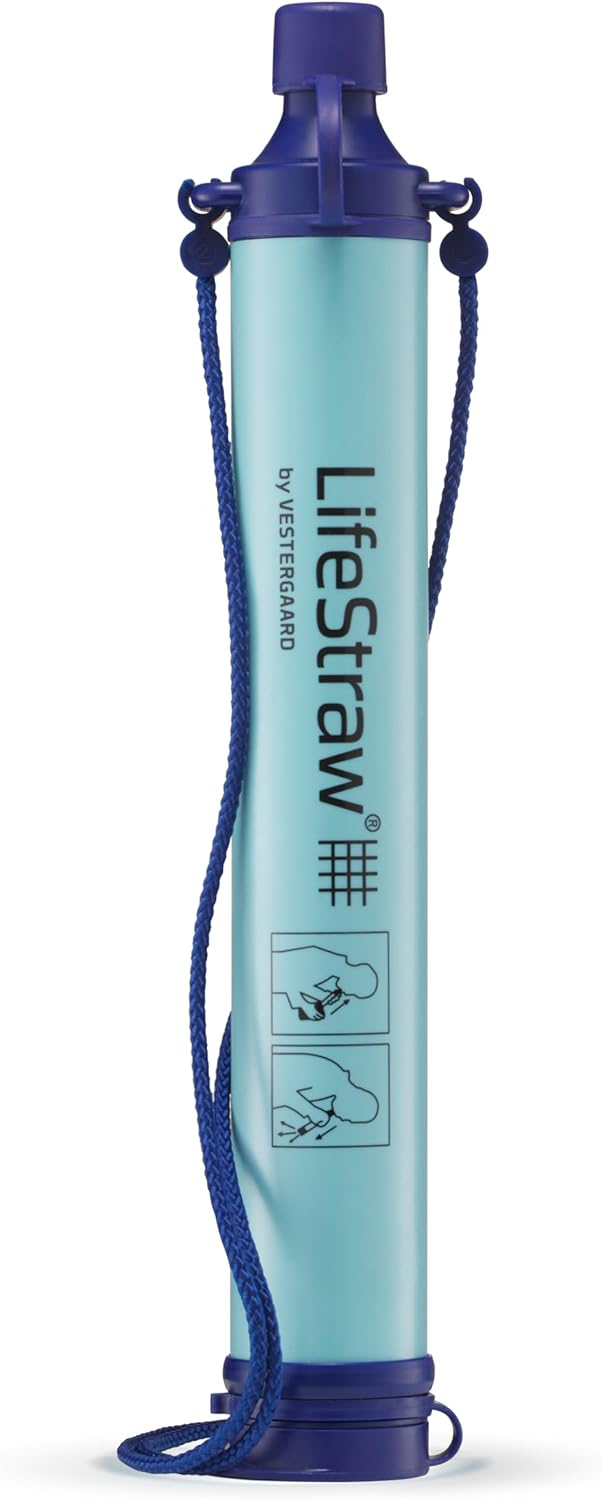
Portable water filters provide a convenient and reliable way to access clean drinking water, whether you’re hiking, camping, or preparing for emergencies.
For outdoor enthusiasts, emergency preparedness, or anyone needing access to clean water on the go.
Step 3: Food – Easy-to-Prepare and Long-Lasting
Pack enough non-perishable food to last for 72 hours. Choose items that don’t require refrigeration or extensive preparation. Here are some good options:
Comfort Foods: Consider packing a few treats like chocolate or cookies to keep morale up.
Canned Foods: Soups, vegetables, fruits, and meats. Don’t forget a manual can opener!
Ready-to-Eat Meals (MREs): Lightweight and designed for emergencies.
Protein Bars, Granola Bars, or Trail Mix: Portable and calorie-dense.
Dried Foods: Instant noodles, oatmeal, or pasta.
Meals Ready to Eat
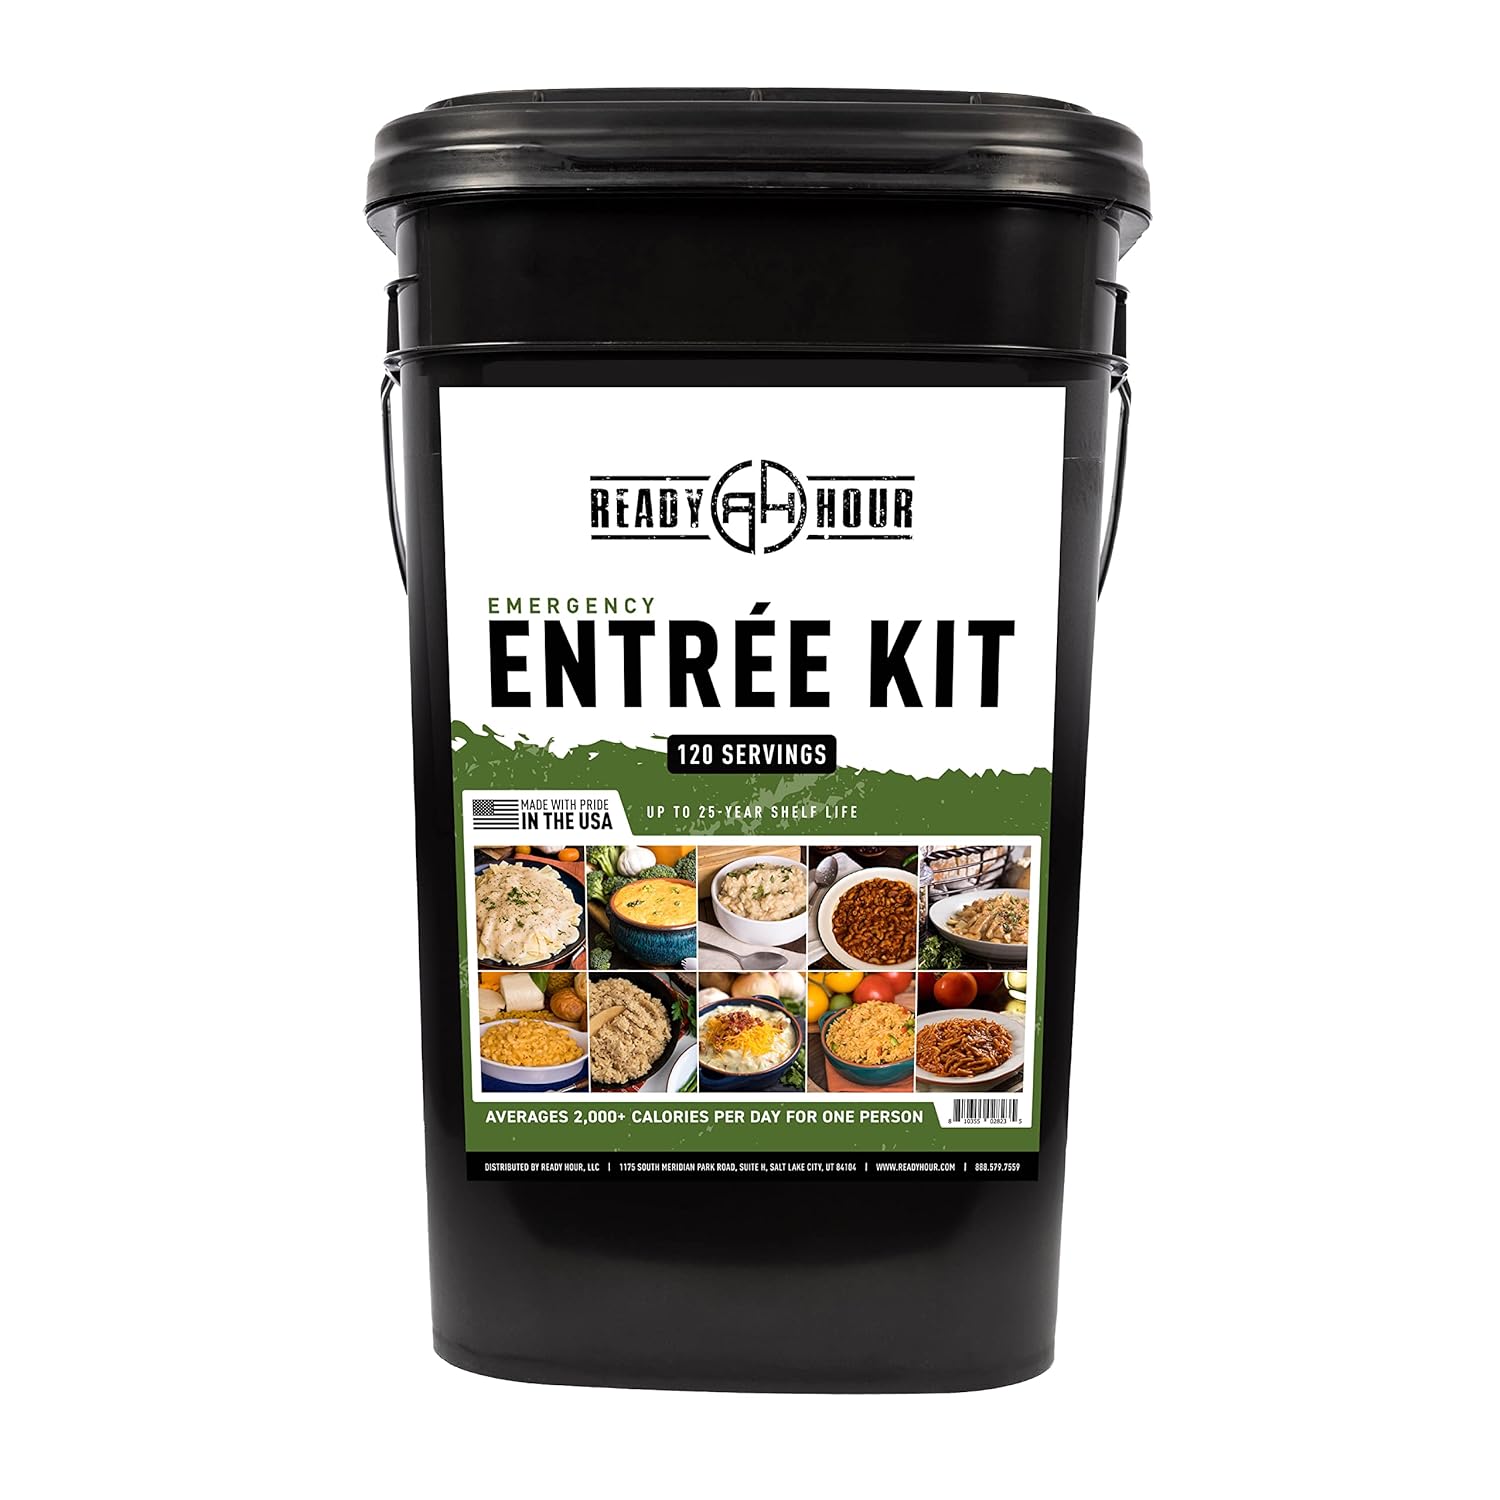
MREs are pre-packaged meals designed for quick, no-cook consumption, popular for emergencies and outdoor activities.
MREs have long shelf lives and don’t require refrigeration, making them ideal for disaster preparedness.
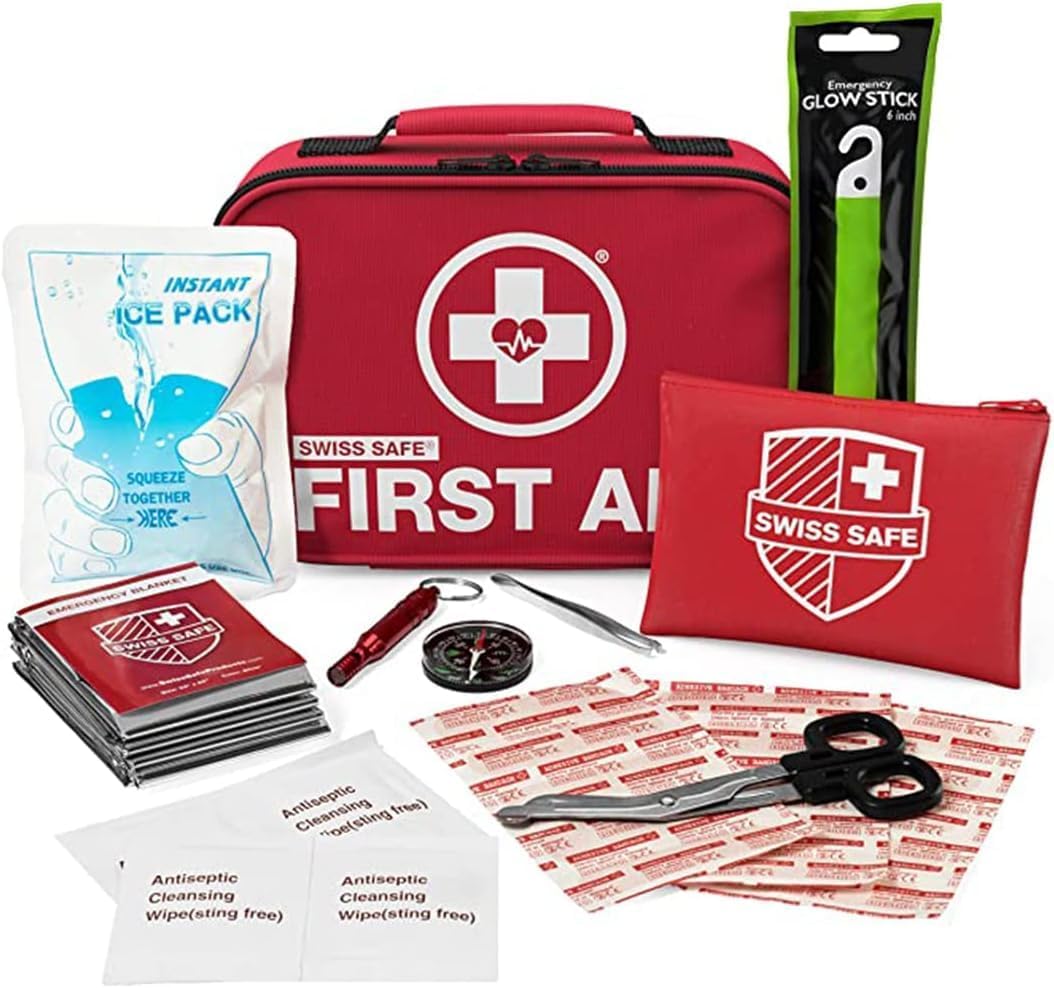
Step 4: First Aid Kit
In an emergency, injuries can happen. Your first aid kit should be stocked to handle basic medical needs. Here’s what to include:
- Adhesive Bandages: Various sizes for cuts and scrapes.
- Antiseptic Wipes: To clean wounds.
- Gauze and Tape: For larger wounds.
- **Tweezers and Scissors**
Personal Items: If anyone in your family has specific health needs (such as an inhaler or EpiPen), be sure to include these.
Pain Relievers: Such as ibuprofen or acetaminophen.
Antibiotic Ointment
Emergency Blanket
Any Prescription Medications: Have at least a three-day supply of any essential medication.
Step 5: Tools and Gear
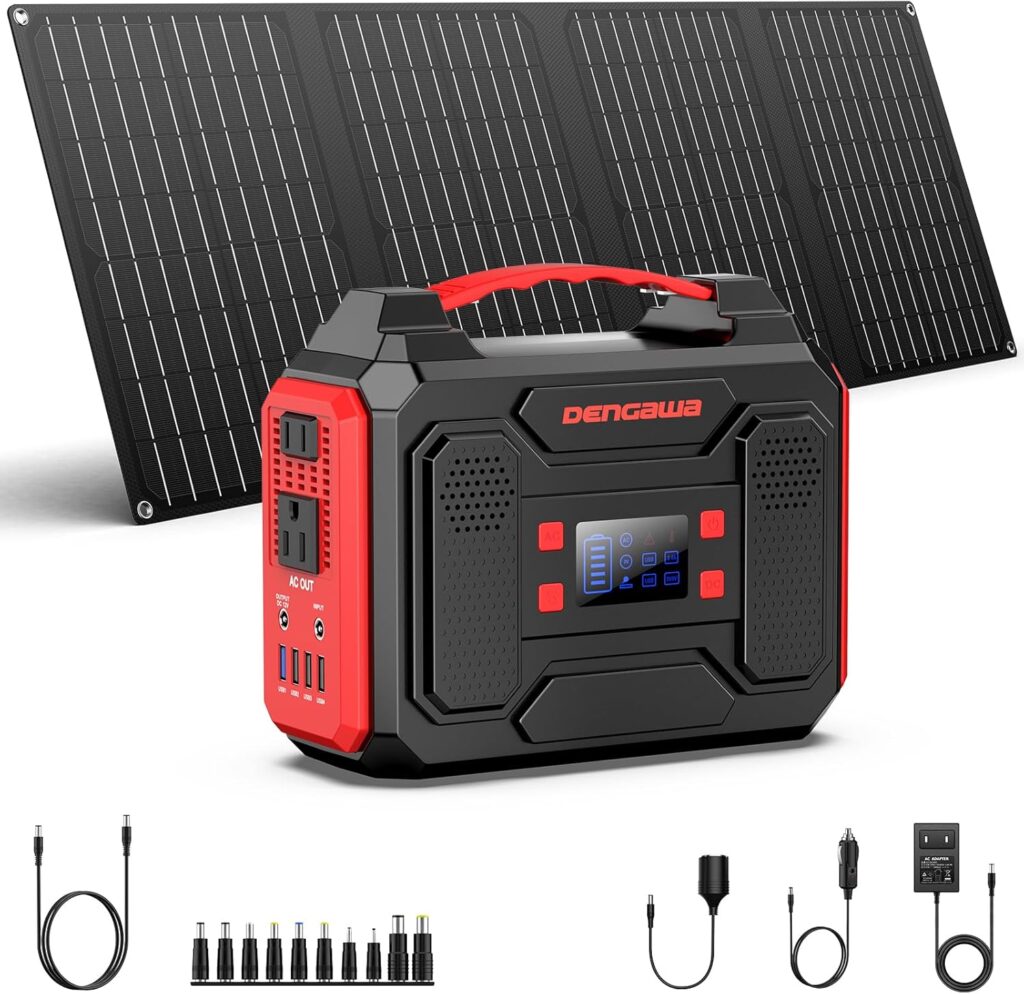
You’ll need some basic tools and equipment for navigating an emergency. These items can help you stay safe, navigate the situation, and even make necessary repairs:
- Multi-Tool or Swiss Army Knife: Can serve many functions in one compact item.
- Flashlight: LED flashlights are a reliable, long-lasting option. Include extra batteries or opt for a crank-powered flashlight.
- Matches or a Lighter: Waterproof matches are a good idea, or keep them in a waterproof container.
- Fire Starter: Compact fire-starting kits can be essential for warmth and cooking.
- Duct Tape: For emergency repairs or even sealing cracks in windows.
- Whistle: For signaling if you need help.
- Plastic Sheeting and Paracord: To create a makeshift shelter or cover windows and doors.
- Work Gloves: To protect your hands during clean-up or repairs.
- Face Masks (N95 if possible): In case of debris, smoke, or poor air quality.
- Portable Phone Charger (Solar or Crank): To keep communication devices powered.
Step 6: Hygiene and Sanitation Supplies
Maintaining hygiene during an emergency helps prevent illness and keeps spirits up. Include the following:
- Moist Towelettes or Baby Wipes: For personal hygiene when water is scarce.
- Hand Sanitizer
- Toilet Paper
- Trash Bags and Plastic Ties: For waste disposal and sanitation purposes.
- Personal Hygiene Items: Toothbrush, toothpaste, deodorant, feminine hygiene products, etc.
- Camp Soap or Biodegradable Soap: A small bottle for washing hands and dishes.

Step 7: Clothing and Warmth
Pack enough clothing for each person to last at least three days. Your clothing should be layered for various weather conditions:
- Change of Clothes: Include sturdy, comfortable items. Opt for quick-drying fabrics.
- Warm Clothing: A fleece jacket, hat, gloves, and a scarf can help if temperatures drop.
- Sturdy Shoes: In case you need to walk long distances.
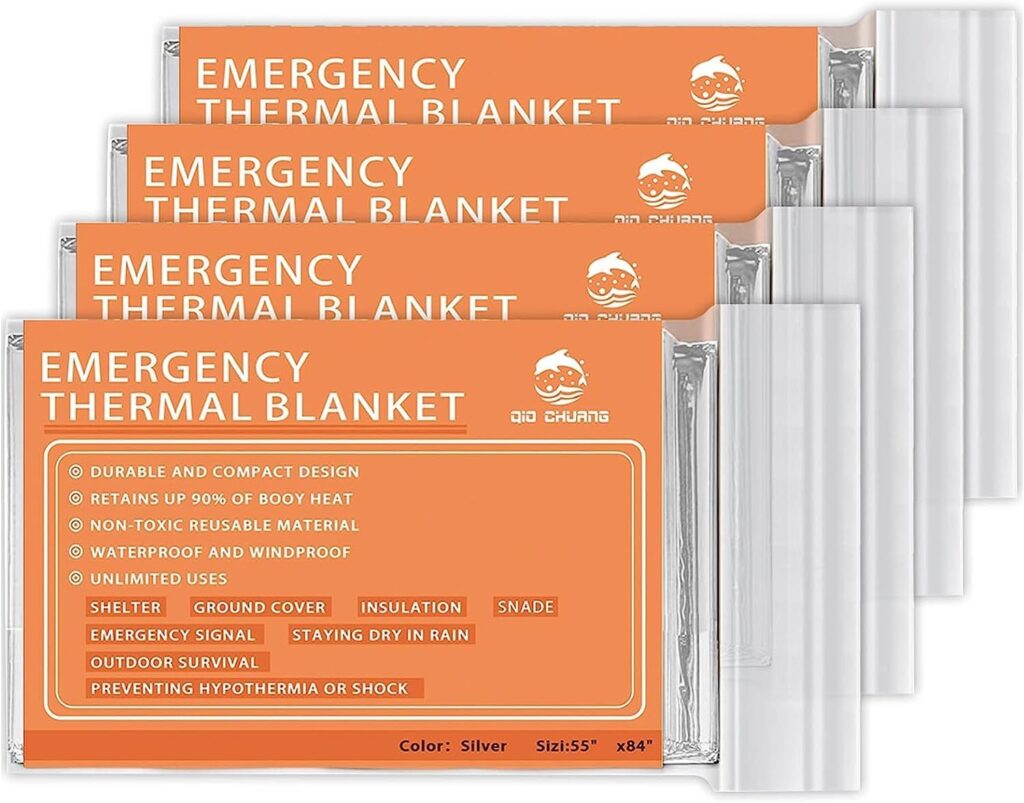
- Emergency Blanket or Sleeping Bag: A compact, thermal blanket can help retain body heat.
Step 8: Important Documents and Personal Items
If you need to evacuate, having access to important documents can make the recovery process smoother. Include copies of:
- Identification: Driver’s license, passport, social security card.
- Insurance Policies: Health, home, and auto insurance.
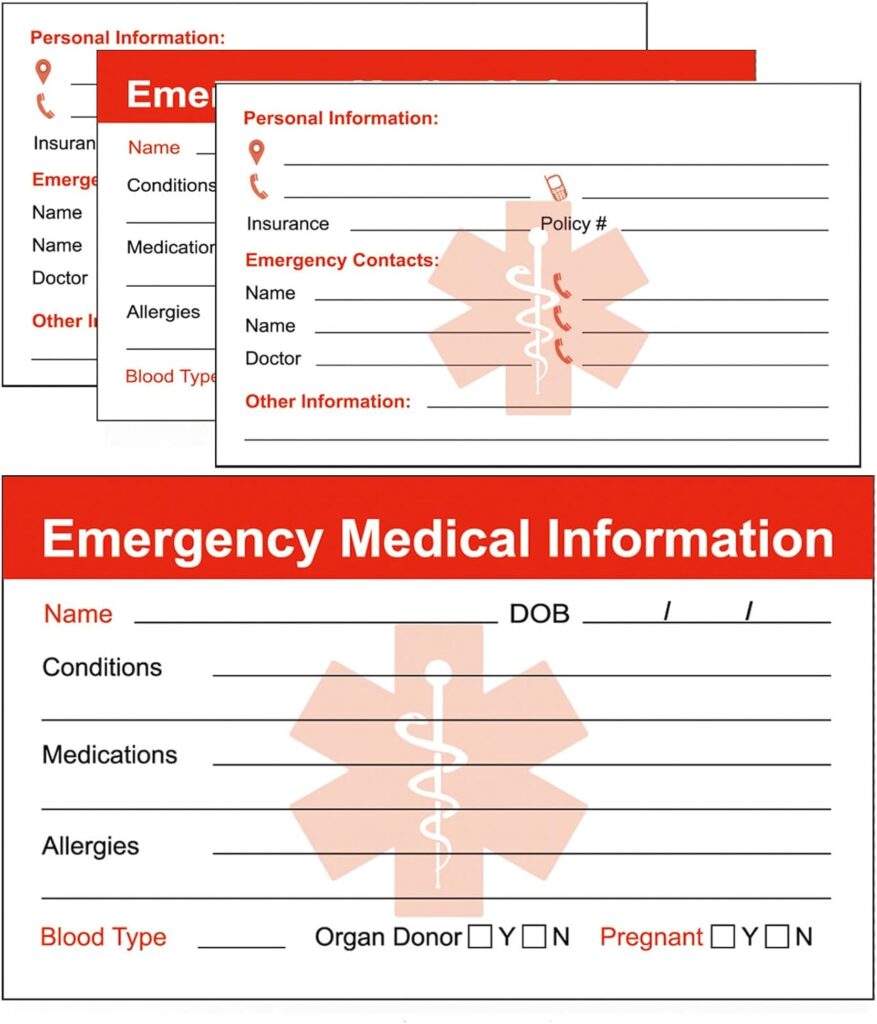
- Medical Information: Prescriptions, important medical records.
- Emergency Contacts: Include names, phone numbers, and addresses.
- Cash: In small denominations in case ATMs are down or cards aren’t accepted.
- Map of the Area: In case you need to navigate without GPS.
Step 9: Special Items for Families and Pets
If you have children, elderly family members, or pets, you’ll need to include additional items:
- Infants/Toddlers: Baby formula, diapers, wipes, bottles, and baby food.
- Pets: Extra food, a leash, and a collapsible bowl for water. Don’t forget pet medications if needed.
- Comfort Items: Toys, books, or games to keep children entertained.
Step 10: Where to Store Your Emergency Kit
Where you store your emergency kit is just as important as what you put in it. Here’s where to keep it:
- Easily Accessible Spot: Your emergency kit should be stored where you can quickly grab it if you need to evacuate. Consider a front hall closet, the garage, or under your bed for easy access.
- Multiple Locations: If possible, have smaller emergency kits in several places:
- Home: The main kit should be in your home, ideally near an exit.
- Car: Keep a smaller version of your kit in your car in case you’re away from home during an emergency.
- Work: A compact kit in your office or workspace can help if you’re stranded.
- Weather-Protected Area: Store your kit in a dry, cool location, such as a closet or garage, to prevent perishable items from spoiling.
- Portable Location: The kit should be stored in a location where it’s easy to grab quickly, especially in an evacuation situation.
Make sure everyone in the household knows where the emergency kit is stored to avoid confusion during a crisis.
Step 11: Review and Update Your Kit Regularly
Once your 72-hour emergency kit is complete, don’t just forget about it. Review and update the kit every 6 months to:
- Replace expired food, water, and medications.
- Adjust clothing to match the current season.
- Ensure batteries and chargers are in working order.
- Reevaluate the needs of your family and make changes as necessary.
Final thoughts
Building a 72-hour emergency kit can seem overwhelming, but taking it step by step ensures you won’t miss any critical components. In times of crisis, preparation is the key to reducing stress and increasing your chances of survival. By assembling a comprehensive kit, you’re investing in peace of mind for yourself and your family. Don’t forget to also create a family evacuation plan to ensure everyone knows what to do during an emergency. Take the time to gather and pack these essential supplies—you never know when you might need them.
If you found this guide helpful, share it with your friends and family, and let’s all be better prepared for whatever comes our way.



Leave a Reply