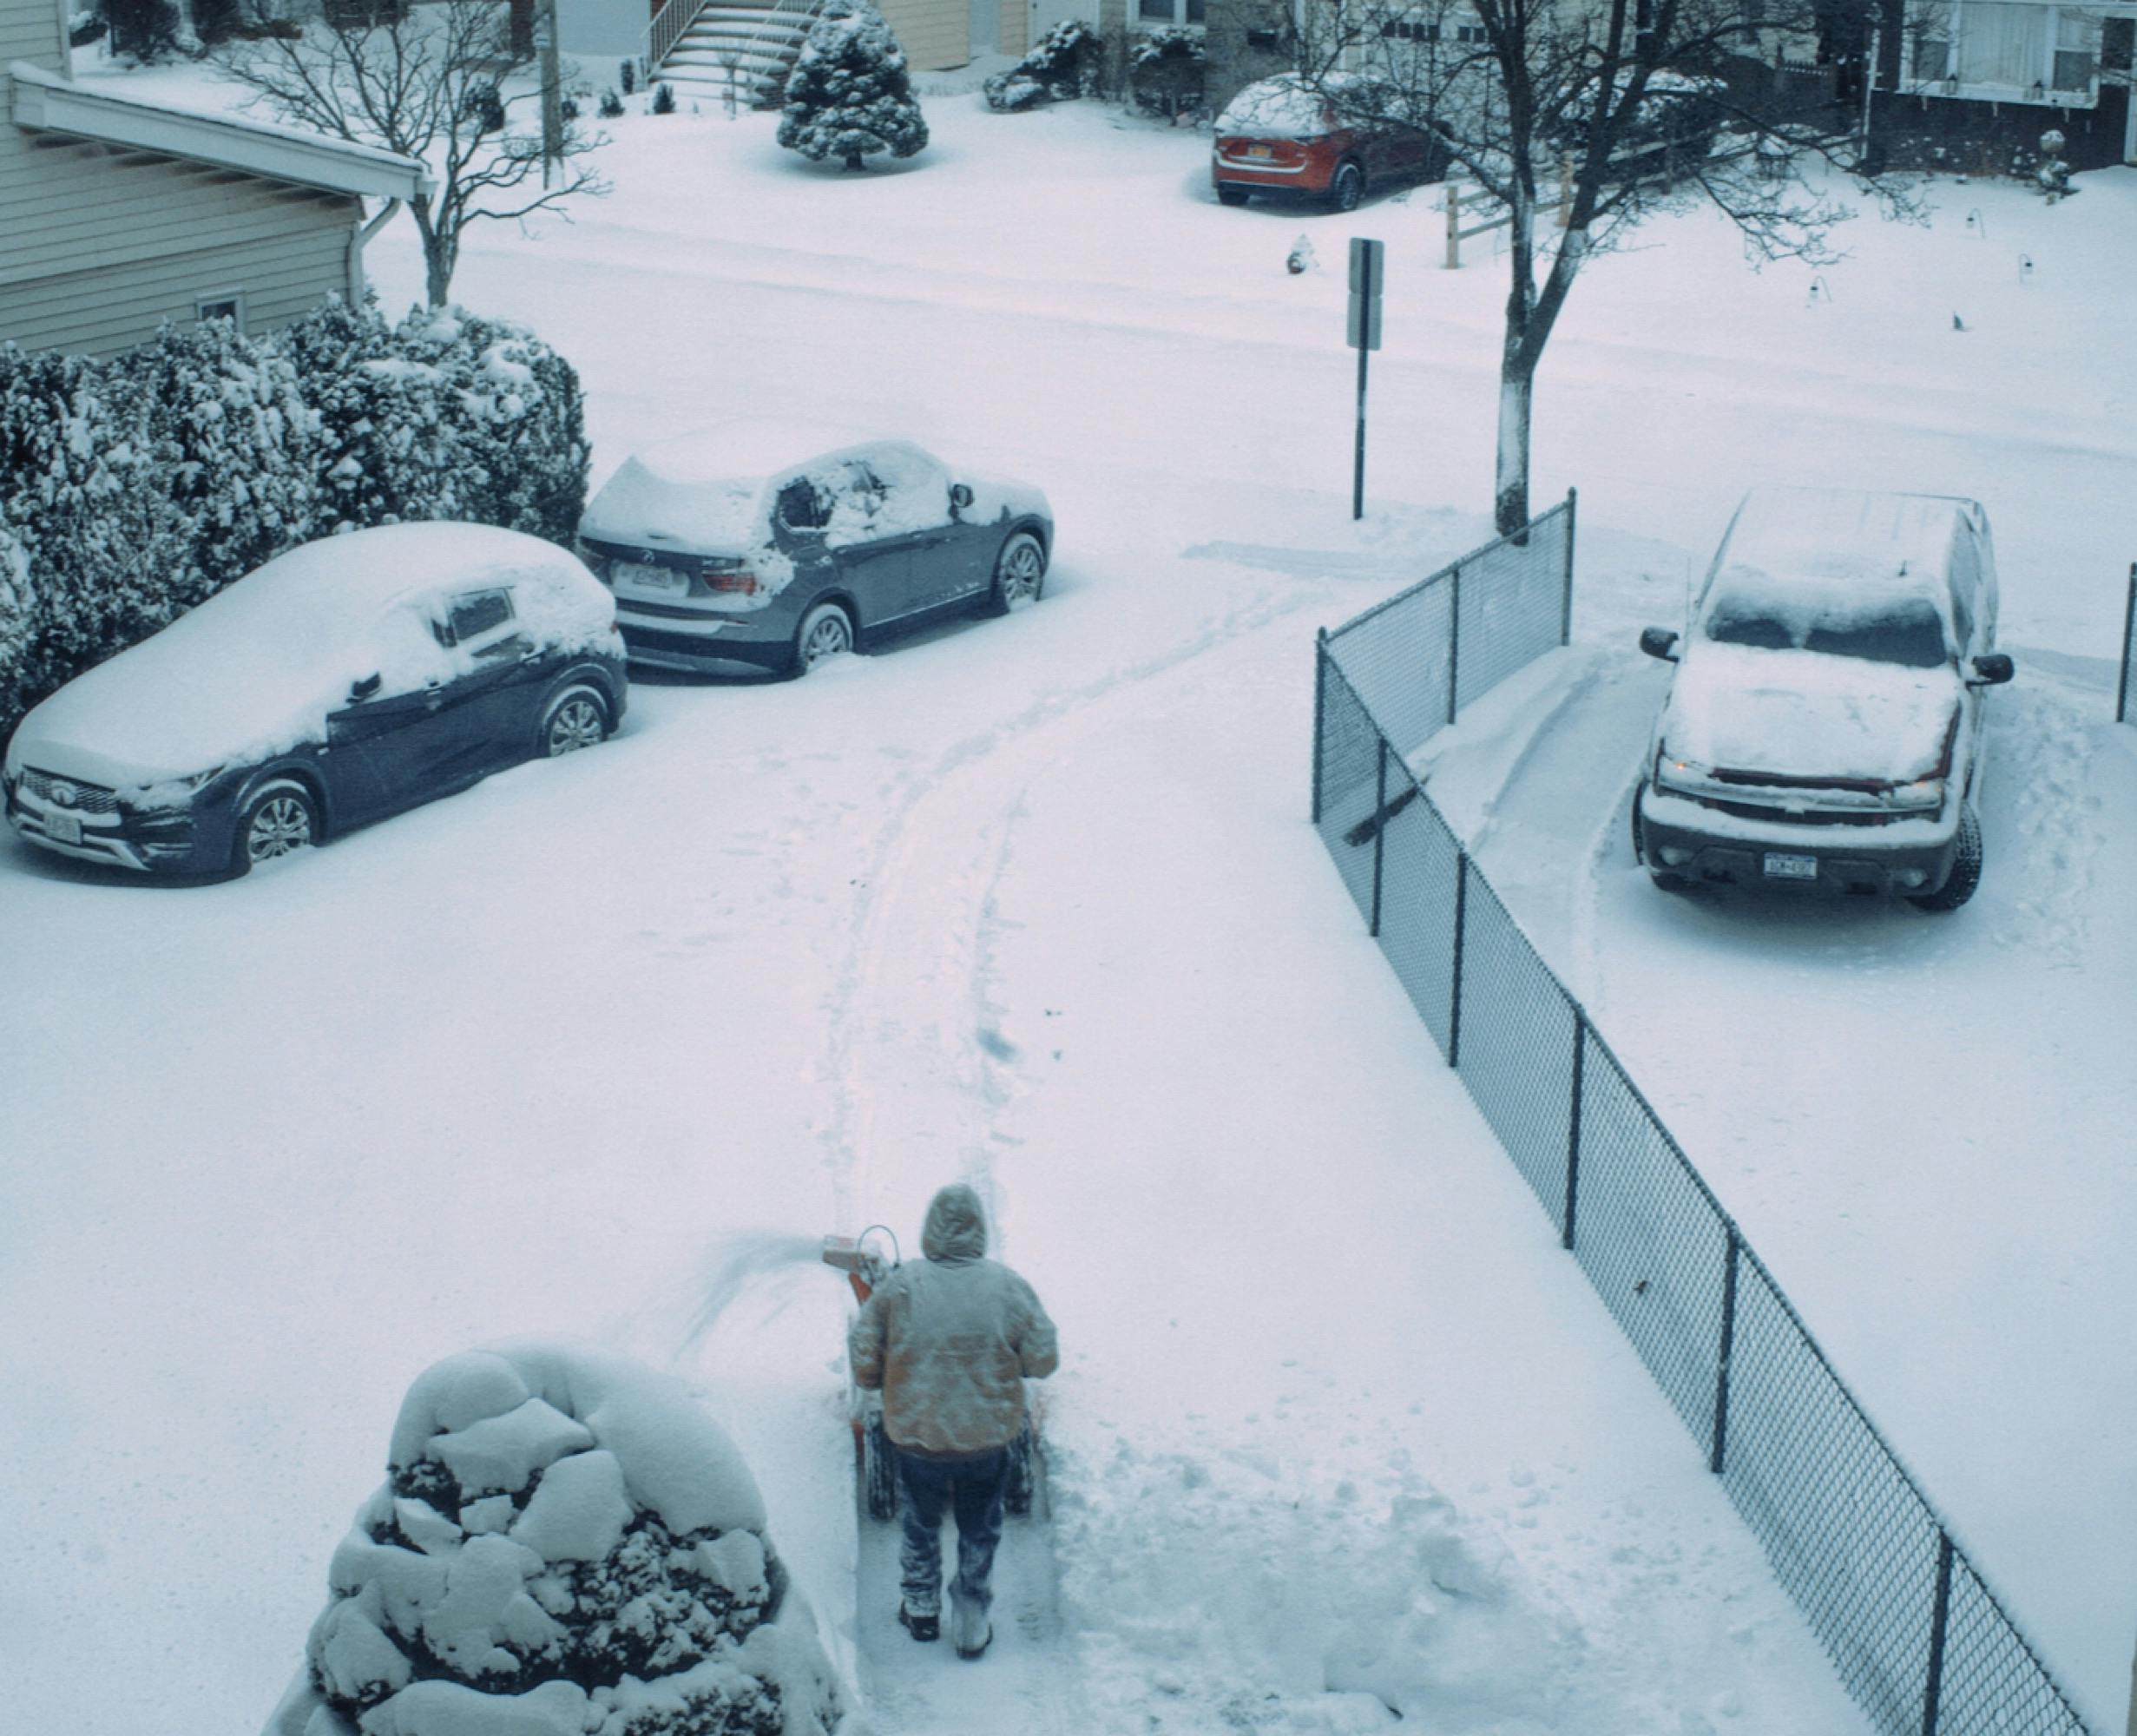
When emergencies hit, whether it’s a natural disaster, economic crisis, or power outage, food storage becomes essential. Having a well-stocked and properly maintained food supply can be a lifesaver. Here, we’ll dive into practical food storage tips to help you prepare for uncertain times, covering everything from essential items to storage methods, shelf-life tips, and the importance of rotation.
1. Start with a Basic Emergency Food List
Before you begin storing food, it’s helpful to start with a checklist of non-perishable essentials. The idea is to cover all food groups and ensure balanced nutrition. Here’s a basic list to get you started:
- Grains: Rice, oats, pasta, and quinoa
- Proteins: Canned beans, lentils, canned fish, peanut butter, and nuts
- Fruits & Vegetables: Canned fruits and vegetables, freeze-dried produce
- Dairy Alternatives: Powdered milk or plant-based milks with longer shelf life
- Fats & Oils: Cooking oil, ghee, or coconut oil
- Condiments & Spices: Salt, pepper, sugar, honey, and basic spices
- Beverages: Coffee, tea, electrolyte powder
- Extras: Protein bars, crackers, and dried soups for variety
Keep this list as a reference and expand or modify it to include any family-specific needs, like baby food or pet food.
2. Focus on Shelf Life and Storage Conditions
One of the keys to successful food storage is understanding the shelf life of various items. Some foods, like canned goods and grains, can last years if stored properly, while others may degrade faster. Here are a few shelf-life tips for common emergency items:
- Grains like white rice, oats, and pasta can last several years if stored in airtight containers.
- Canned Goods can last for 2-5 years on average, though it’s best to store them in a cool, dry place to maximize shelf life.
- Dried Beans and Legumes are extremely shelf-stable and can last up to a decade if properly stored.
- Oils can become rancid after a few years, so rotate them regularly.
- Powdered Milk typically lasts 1-2 years, but ensure it’s stored in a dry area.
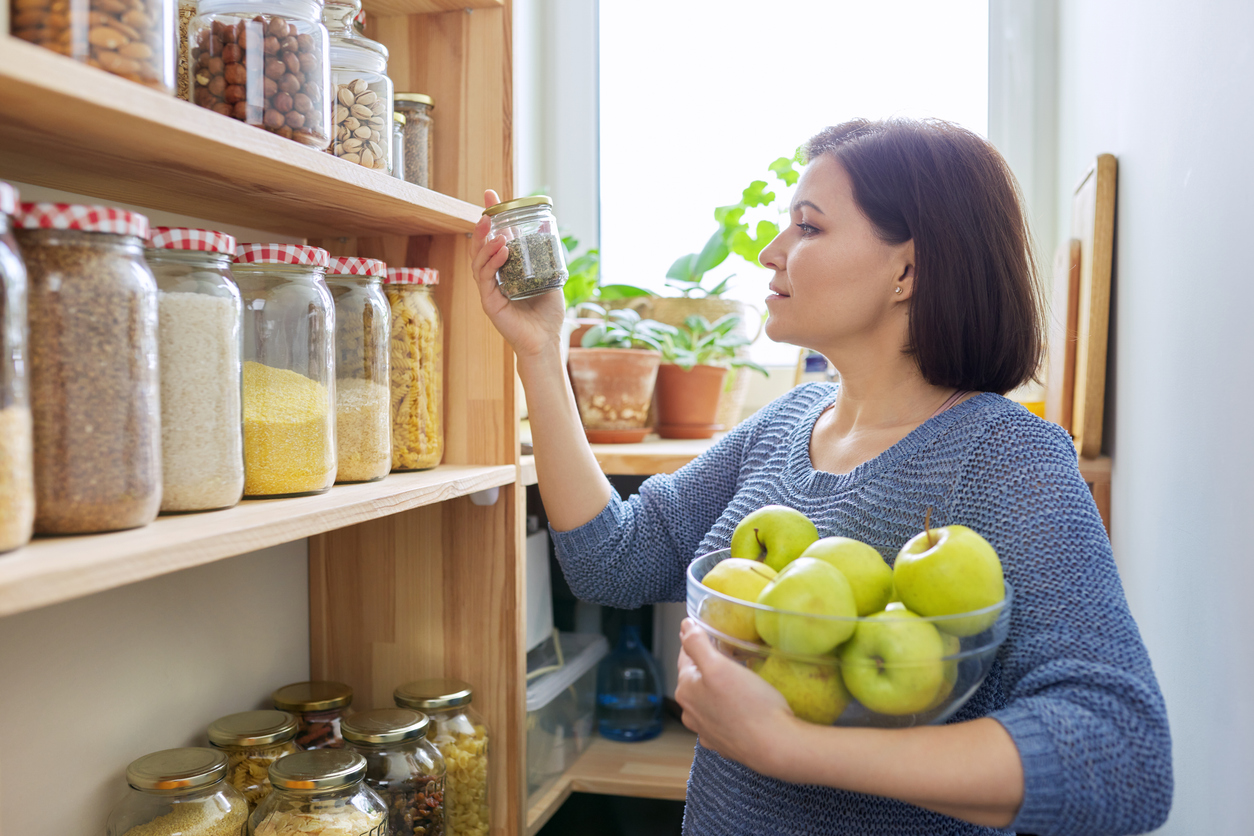
3. Choose the Right Storage Containers
Investing in the right storage containers is crucial for long-term food storage. Airtight containers can prevent moisture and pests, and some containers even offer UV protection. Here are a few options:
- Mylar Bags with Oxygen Absorbers: Great for long-term storage of grains, beans, and dried goods. They’re moisture-proof and can help keep oxygen levels low, extending shelf life.
- Mason Jars: Ideal for dry goods like rice, oats, and pasta. Make sure to store them in a cool, dark place.
- Plastic Buckets: Food-grade buckets are great for storing bulk items, but make sure to use an oxygen absorber.
- Vacuum-Sealed Bags: These are good for smaller quantities of food and can be frozen for extra shelf life.
Properly labeled containers with storage dates will help you keep track of rotation.
4. Consider Freeze-Dried and Dehydrated Foods
Freeze-dried and dehydrated foods are excellent for emergency storage, as they can last between 10-25 years. They’re lightweight, easy to store, and retain much of their nutritional value. Popular freeze-dried items include:
- Fruits and Vegetables like apples, strawberries, spinach, and bell peppers.
- Proteins such as freeze-dried meats, beans, and tofu.
- Dairy options, including powdered milk and cheese.
You can buy freeze-dried foods or invest in a dehydrator for DIY food dehydration, which can be particularly useful if you grow your own produce.
5. Prioritize Water and Water Purification
Food storage goes hand-in-hand with water preparedness, as many dried foods require water for preparation. Storing enough water is crucial, and ideally, you should have at least one gallon per person per day. For more detailed guidelines on food and water storage, check out Ready.gov’s recommendations. Beyond basic water storage, you’ll also want purification options. Consider:
- Water Filters such as LifeStraw or Berkey filters for emergencies.
- Water Purification Tablets to treat collected water.
- Boiling and Distilling for purification if access to a heat source is available.
Having the ability to purify water can also help you rehydrate foods and prepare meals from your emergency stores safely.
6. Rotate and Maintain Your Food Storage Regularly
Even the best-stored foods have an expiration date. Regularly rotating your stockpile ensures that nothing goes to waste. Here’s a simple rotation strategy:
- Mark Expiration Dates: Label all stored items with the date they were stored and their expiration.
- Use the Oldest Items First: Store newer items in the back and keep older items at the front.
- Check Every Six Months: Conduct an inventory check twice a year, using or donating items that are nearing expiration.
By incorporating stored foods into your regular meals, you’ll naturally rotate your inventory and avoid spoilage.
7. Create an Inventory System
For larger food storage supplies, an inventory system can make management easier. A few methods include:
- Digital Tracking Apps: Apps like Food Storage Inventory or Pantry Check can help you track items by expiration date.
- Paper Inventory Sheet: Keep a physical record of your food items, noting the quantity and storage date.
- Color Coding: Use color-coded stickers for different expiration ranges. For example, green for items with 2+ years left, yellow for 1-2 years, and red for 1 year or less.
An inventory system is essential to keep track of your supplies and know when items need replacing.
8. Don’t Forget About Cooking Fuel
In an emergency, access to cooking facilities may be limited. Stock up on cooking fuel and a backup stove, such as:
- Camping Stove or Portable Burner: These stoves run on small propane or butane canisters and are perfect for emergencies.
- Rocket Stove: Uses twigs and other natural fuel, making it a sustainable backup.
- Charcoal or Firewood: Ideal for outdoor cooking. Just make sure to store these in a dry place.
Ensure you have enough fuel for a few weeks of cooking. If you rely on propane or gas, make sure to regularly check your fuel levels and refill as necessary.
9. Consider Special Dietary Needs
If you or a family member has dietary restrictions, make sure your food storage reflects those needs. Whether it’s gluten-free, low-sodium, or allergy-friendly, take the time to find suitable non-perishable options that meet dietary requirements. Some tips:
- Opt for Gluten-Free Grains: Like quinoa, rice, and gluten-free oats.
- Low-Sodium Options: Choose low-sodium canned goods and condiments.
- Allergy-Friendly Alternatives: If someone is allergic to nuts, for example, stock up on other protein sources.
A well-rounded emergency food supply is inclusive of everyone’s needs, ensuring nobody is left without safe options.
10. Utilize Cold Storage Wisely
If you have space, a chest freezer can significantly extend the shelf life of many foods. However, be cautious: frozen items are only useful in short-term power outages unless you have a generator. For maximum efficiency:
- Freeze Extra Proteins: Freeze meat, cheese, and even certain grains, which can last up to a year.
- Organize for Efficiency: Group similar items and keep frequently used ones near the top.
- Add Dry Ice During Outages: If you anticipate a power outage, adding dry ice can extend the freezing time for perishable items.
This is a useful supplement to your pantry but not a replacement for non-perishable items.
11. Practice Using Your Stored Food
An often-overlooked tip is to practice preparing meals with your stored food. This ensures that you know how to use your emergency supplies and don’t waste time during a crisis trying to figure out recipes. Here’s how:
- Cook a Weekly “Prepper Meal”: Once a week, prepare a meal using only stored items.
- Experiment with Seasonings: Keep basic seasonings and condiments to make meals more enjoyable.
- Test Fuel and Cooking Gear: Practice cooking on alternative heat sources like a camping stove so you’re prepared if traditional appliances aren’t available.
This way, you can confidently cook with your supplies in a real emergency.
12. Consider Long-Term Food Storage Options
For long-term preparedness, look into foods specifically packaged for emergency storage. These are often freeze-dried, vacuum-sealed, or canned to last decades and can be a worthy investment. Some options include:
- Bulk Freeze-Dried Foods: Available from emergency food suppliers and designed to last 20+ years.
- #10 Cans: These large cans are packed for long-term storage and can hold various items like grains and freeze-dried meals.
- DIY Canning and Preserving: If you’re experienced with canning, consider preserving fresh fruits and vegetables at home.
Long-term food storage requires an upfront investment, but it’s a reliable way to prepare for prolonged emergencies.
Final Thoughts
Creating a food storage system doesn’t have to be overwhelming or expensive. By focusing on basics like shelf-stable foods, proper storage, and regular rotation, you can build a resilient pantry that will be there when you need it most. Start small, check off items gradually, and incorporate these tips into your routine. When an emergency strikes, you’ll have peace of mind knowing that your family’s essential needs are covered.

Leave a Reply